Garage floor coatings, like epoxy or resin, can change your garage. Looking for a reliable Flooring Contractor in Denver homeowners trust for quality floor installation.. They protect the concrete from stains and make cleanup easier. They can also handle vehicles and tools. But the coating is only as good as the surface it's on.
Surface preparation matters. If you skip steps, you set yourself up to fail. That wastes money, time, and effort.
Here is why: If the concrete isn't cleaned and prepped, the coating won't bond. This can cause peeling, chipping, and bubbling. In Denver, freeze-thaw cycles will exploit any weakness.
What does good prep look like? First, remove any coatings or sealers. Then, clean the concrete to remove oil, grease, and other things. After cleaning, make the concrete rough so the coating can grab on. You can do this by grinding or acid etching.
Skipping these steps might seem like a way to save time and money. But it'll cost you more if you have to redo the floor. For homeowners, commercial property owners, real estate investors, general contractors, and property management companies, getting this right matters for a lasting garage floor.

Garage floors are often concrete, but concrete varies. Different mixes and strengths exist. Knowing your concrete is key before you consider coatings.
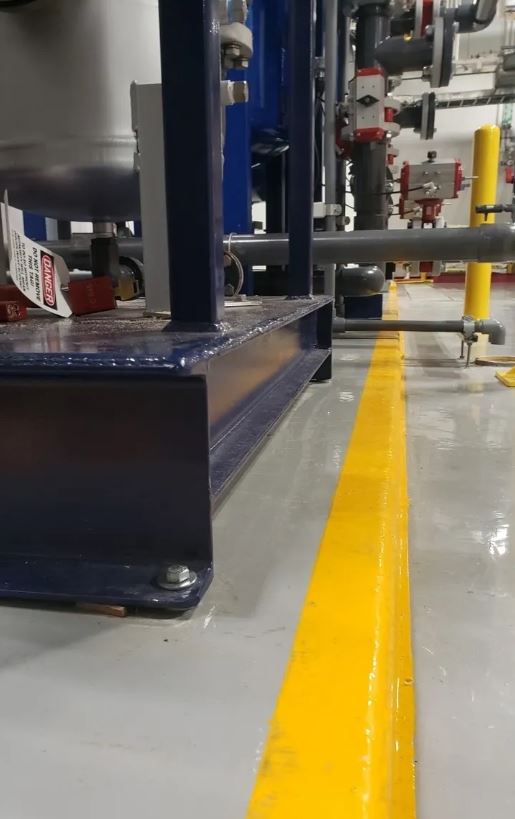
Denver's climate harms concrete. The freeze-thaw cycle causes cracks and surface flakes. Check for damage before you coat. Look for cracks, chips, and stains. It seems obvious, but people miss things.
Moisture is a big problem. Concrete soaks up water. Sealing moisture in causes bubbles and peeling. Test the concrete for moisture first. You can buy kits, or a pro can help. Do not skip this.
Has the concrete been treated before? Maybe it had a sealant. Coatings don’t always stick. You might need to grind down to the bare concrete. Prep work is most of the job. If you get that wrong, your epoxy floor will fail.
Moisture hurts concrete. Before you apply a garage floor coating, test for moisture. Too much moisture stops proper adhesion, which causes bubbles and peeling. Two common tests exist: The calcium chloride test measures moisture vapor from the concrete. Relative humidity probes go into the concrete to measure internal humidity. In Denver, aim for moisture vapor emission rates below 3 pounds per 1000 square feet per 24 hours (calcium chloride test). Or, get relative humidity readings below 75%.
Concrete Surface Profile (CSP) measures concrete roughness. Coatings need roughness to grip the surface. Grinding or shot blasting achieves this. The CSP scale goes from 1 to 9. Higher numbers mean rougher surfaces. For most garage floor coatings, a CSP of 2-3 works. It provides enough texture for a strong bond without being too rough. If you skip this, the coating will likely come off.
Adhesion testing checks the bond strength between the coating and the concrete. A pull-off test glues a metal dolly to the coated surface. Then, a calibrated device measures the force to pull it off. Results are in pounds per square inch (PSI). Acceptable adhesion strength depends on the coating system. But, you want a minimum of 300 PSI. Weak adhesion means a problem with surface preparation or the coating. Fix it before moving forward.
Temperature matters in the curing of garage floor coatings. Air and concrete slab temperatures must be within the manufacturer's range during application and curing. This is usually between 60°F and 80°F. Coatings applied outside this range may not cure right. This results in a weak finish. Denver's temperatures change, so watch conditions. Use heating or cooling to keep the ideal temperature.
Concrete absorbs contaminants like oil, grease, and cleaning chemicals. These stop the coating from bonding right. Clean and degrease the concrete before other surface preparation. Use a concrete degreaser and scrub the surface. Then, rinse well. For very dirty areas, do multiple cleaning cycles or chemical etching to remove residue. If you skip this, you paint over dirt, which makes the coating fail.
Garage floors often have moisture issues. Hydrostatic pressure, where water pushes up through the concrete, is a big concern. If you don't address it, your new coating will bubble and peel. That's no good.
So, what can you do? Vapor barriers are a good start. These go *under* the concrete slab when the garage is built. If your garage is already there, that’s not an option. Moisture-tolerant coatings are another choice. These bond even with some moisture present.
Proper ventilation is also key, especially in Denver's climate. Temperature swings can cause condensation, which leads to moisture buildup. Open a window or run a dehumidifier sometimes.
Picking the right method depends on how bad the moisture issue is. A simple test involves taping a plastic sheet to the floor. If moisture collects underneath after a day or two, you have a problem. For minor issues, a good moisture-tolerant epoxy might be enough. For serious problems, you might need a professional to check the situation and suggest a stronger fix, maybe even a drainage system. Getting this wrong means your coating fails, and you're back to square one.
Before you apply a garage floor coating, deal with any existing concrete damage. Cracks, spalls, and other flaws will show through your new epoxy or resin. They will also hurt the coating's ability to bond.
For hairline cracks, a crack filler works. You can find these at any home improvement store. Clean the crack, apply the filler, and smooth it. Simple.
Spalls and larger cracks need more work. Epoxy patching works best here. Chip away any loose concrete and clean the area. Then, mix and apply the epoxy patch based on the instructions. Overfill the patch a bit, since it will shrink as it cures. Once cured, grind it down so it matches the surrounding concrete.
For very damaged floors, or floors with lots of cracks, concrete resurfacing might be needed. This means putting a thin layer of new concrete over the old surface. This makes a fresh, smooth base for your coating.
When should you call a pro? If you see widespread damage or large cracks (wider than a quarter of an inch), or if the concrete is crumbling, get a professional opinion. DIY repairs on very damaged concrete can waste time and money if the core problems are not fixed. A professional can check the damage, find the cause, and suggest the right repair. It might cost more now, but it can save you from bigger problems later.
Thinking about coating your garage floor? Good idea. Before you open that can of epoxy, prep the surface the right way. If you don't, your new coating will peel fast.
There are a few main ways to do this. Grinding is common. It uses diamond grinders to smooth the concrete and open the pores. It works well for most situations, but it can create a lot of dust. Shot blasting is another choice. It uses tiny steel beads to blast away the top layer. It's very effective, mainly on rough or dirty floors, but it's also louder and costs more. Finally, there's acid etching. It's less effective than grinding or shot blasting and not for floors that were sealed before.
For most garage floors, grinding is a good choice. But, if your floor was coated before or has many oil stains, shot blasting might be needed.
No matter the method, dust control is key. Use a vacuum system with your grinder or shot blaster. Also, wear a respirator. Concrete dust is bad. Safety glasses and gloves are also needed. If you skip these steps, you risk health issues and a coating that fails too soon. Doing it right the first time saves trouble and money.
Before you apply a coating, you must clean the concrete. Garage floors attract oil, grease, road salts, and grime. If you skip this step, your coating will fail. It won’t stick, and you’ll see peeling and bubbling.
How do you clean it? First, sweep up loose debris. Then, degrease the floor. Many concrete degreasers exist. Find one for garage floors, and follow the label. You’ll scrub the cleaner into the concrete with a stiff brush. Put some effort into it!
For oil stains, let the degreaser soak before scrubbing. After degreasing, rinse the floor with clean water. Any residue can hurt the coating's grip.
For dirty floors, use a pressure washer. Be careful not to damage the concrete. Let the floor dry before you apply any coating. This might take a day or two, depending on the weather. A clean, dry surface makes for a lasting garage floor.
Let's discuss garage floor coatings. You have a few main types to consider. Each has its own strengths, especially when you think about Denver's climate and how you use your garage.
Epoxy is a popular choice. It's affordable and creates a hard, durable surface. It works well for residential garages where you park cars and do DIY projects. Epoxy can be susceptible to UV damage. If your garage door is open a lot and sunlight comes in, it might yellow or fade.
Polyurethane coatings are more flexible than epoxy. This makes them more resistant to scratches and impacts. They also handle temperature changes better, which is helpful in Colorado. Polyurethane is often used as a top coat over epoxy for added protection.
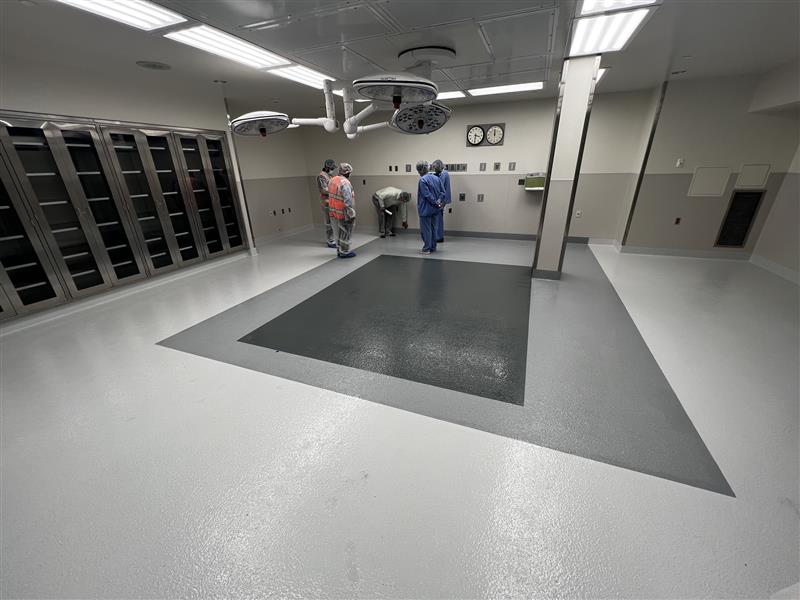
Then there's polyaspartic. This coating dries fast and is very durable. It costs more than epoxy, but it resists chemicals, UV rays, and abrasion well. This makes it a great choice for commercial or industrial garages where there's heavy traffic, spills, and harsh chemicals.
When you choose, think about what you'll do in your garage. Will you just park cars? Or will you run a business there? Also, consider how much sunlight the floor gets and how important looks are to you. Do you want a showroom finish, or are you more concerned with how it works? All these factors will help you narrow down the best coating for your needs.
Garage floor coatings, like epoxy or resin, can really change your Denver garage. They are designed to handle heavy vehicles, dropped tools, and constant foot traffic. You also get a stain-resistant surface that’s easy to clean, a huge win in our climate.
But if you skip proper surface prep, you are setting yourself up for trouble. Coating failures, bubbling, and peeling can occur, making you want to rip the whole thing up and start over. And nobody wants that.
Here is why: the coating needs to bond with the concrete. If the concrete is dirty or cracked, or if it has old coatings on it, it’s not going to stick. We’ve seen it happen again and again in Denver: someone tries to save money on prep, and within a year, their "new" floor looks worse than the old one.
A good example was a property over in Cherry Creek. The owner wanted a quick garage makeover before putting the house on the market. They went with the cheapest coating option and skipped the grinding and patching. Six months later, the floor was peeling up in huge sections. It cost them more to fix it than if they had done it right initially.
The lifespan of your coating drops if you don’t prep the surface correctly. Instead of lasting 5-10 years (or longer), you might be looking at a re-do in a year or two. So, don’t skimp on the prep work. It's the foundation for a garage floor that lasts.
Are you thinking about coating your garage floor yourself? It can be tempting to save money. For smaller, simpler garages, it might be okay. If you are handy, have the time, and your garage floor is in good shape, a DIY epoxy kit from the hardware store could work.
Garage floors take a beating. Think about heavy vehicles, dropped tools, and spills. A professional installation is often a better choice, especially in areas with temperature swings.
A pro brings know-how. They will prep the concrete. This is important. They know how to handle cracks, moisture, and other problems that cause coatings to fail. Also, they use commercial-grade products that are more durable than store-bought options.
Another advantage is the warranty. If something goes wrong with a DIY job, you are on your own. A professional contractor will stand behind their work and fix issues. They also have equipment, like concrete grinders and mixers, that ensure a smooth finish. It makes a difference.
Maintaining your garage floor coating helps it last. Think of it like this: you wouldn't buy a nice car and never wash it, right? The same idea applies here.
Regular cleaning matters a lot. Sweep up dirt, dust, and debris often. Don't let that stuff sit and grind into the surface. When you wash it, use mild soap and water. Strong chemicals can hurt the coating, so don't use them. A soft brush or mop works best.
Preventing damage also matters. Heavy objects can scratch or chip the coating, so be careful when moving things. Consider mats or pads under heavy equipment or toolboxes. Also, try not to drop heavy objects on the floor. It may seem obvious, but it's easy to forget!
Watch for small issues like cracks or chips. If you catch them early, you can often fix them with a patching kit. If you ignore them, they can get bigger and cause more problems. Water can seep in, especially during Colorado winters with snow and ice. That can cause the coating to peel or bubble. Fixing these small things early can save you time and money. A little preventative maintenance helps a lot.
Excessive moisture within the concrete slab can sabotage the bond between the coating and the concrete, leading to peeling or bubbling. MVTR testing measures the amount of moisture vapor passing through the concrete. Understanding the MVTR helps determine if a moisture mitigation system is necessary before applying any coating.
Existing contaminants like oil, grease, or previous coatings can interfere with adhesion. Thoroughly cleaning and removing any contaminants is crucial for a successful and long-lasting garage floor coating. This often involves degreasing, grinding, or other specialized cleaning methods.
The porosity of the concrete affects how well the coating adheres. A dense, non-porous surface may require mechanical preparation to open the pores. Creating the correct surface profile ensures a strong mechanical bond.
Common Risks of Skipping Moisture Testing Before Epoxy Coating
Surface preparation matters for a great garage floor coating. If the concrete isn't ready, the coating won't work. Expect peeling, cracks, and frustration.
Make sure the concrete is clean and free of old coatings. The surface must be rough enough for the new coating to stick. Too much moisture prevents proper bonding.
That’s why you should pick qualified pros for your Denver garage floor. A contractor knows how to prep the surface and apply the coating. They can also help you choose the right coating for your needs and budget.
Don't skimp on this step! It's an investment in how your garage floor looks and performs. A pro install protects your concrete from stains, chemicals, and wear.
Want a tough, easy-to-clean garage floor? Contact a flooring contractor for advice and a quote. It's a smart choice that pays off.