
Epoxy flooring is a thermosetting polymer coating. This means it is durable and resists chemicals and heavy impacts. You see it used in many places.
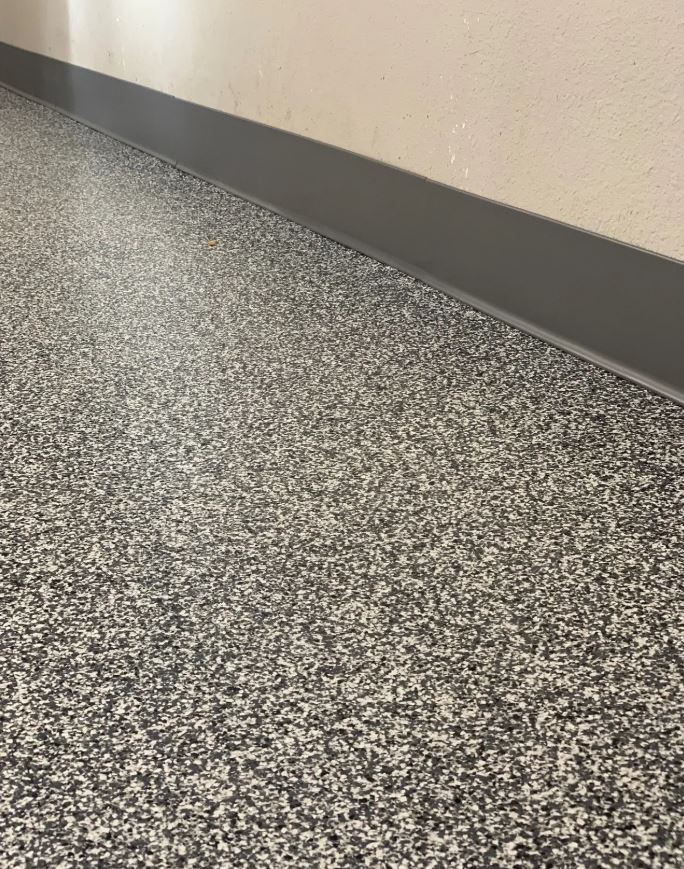
Searching for a reliable Flooring Contractor in Denver residents depend on for professional flooring services..For homeowners, epoxy is great for garages and basements. You get a clean, professional look that handles car oil and dropped tools. Plus, it brightens up a space.
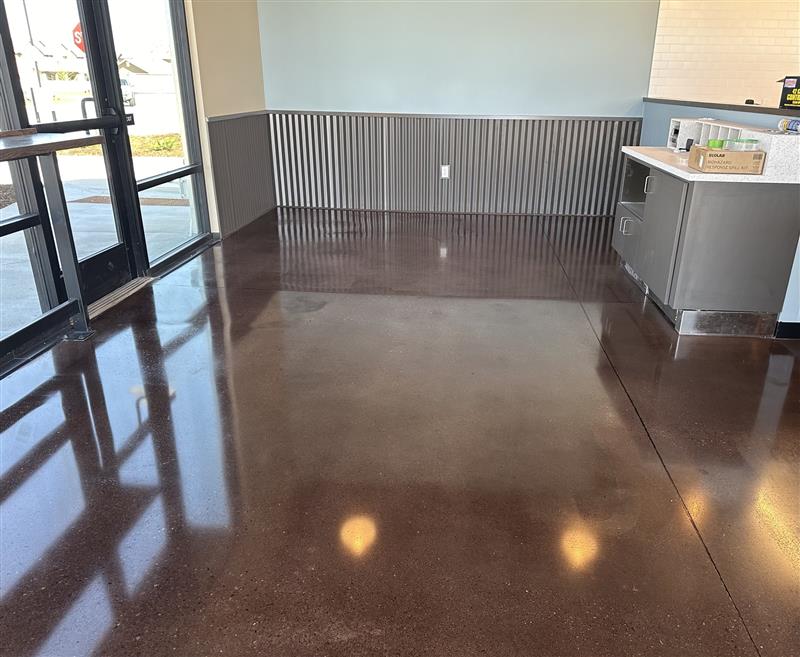
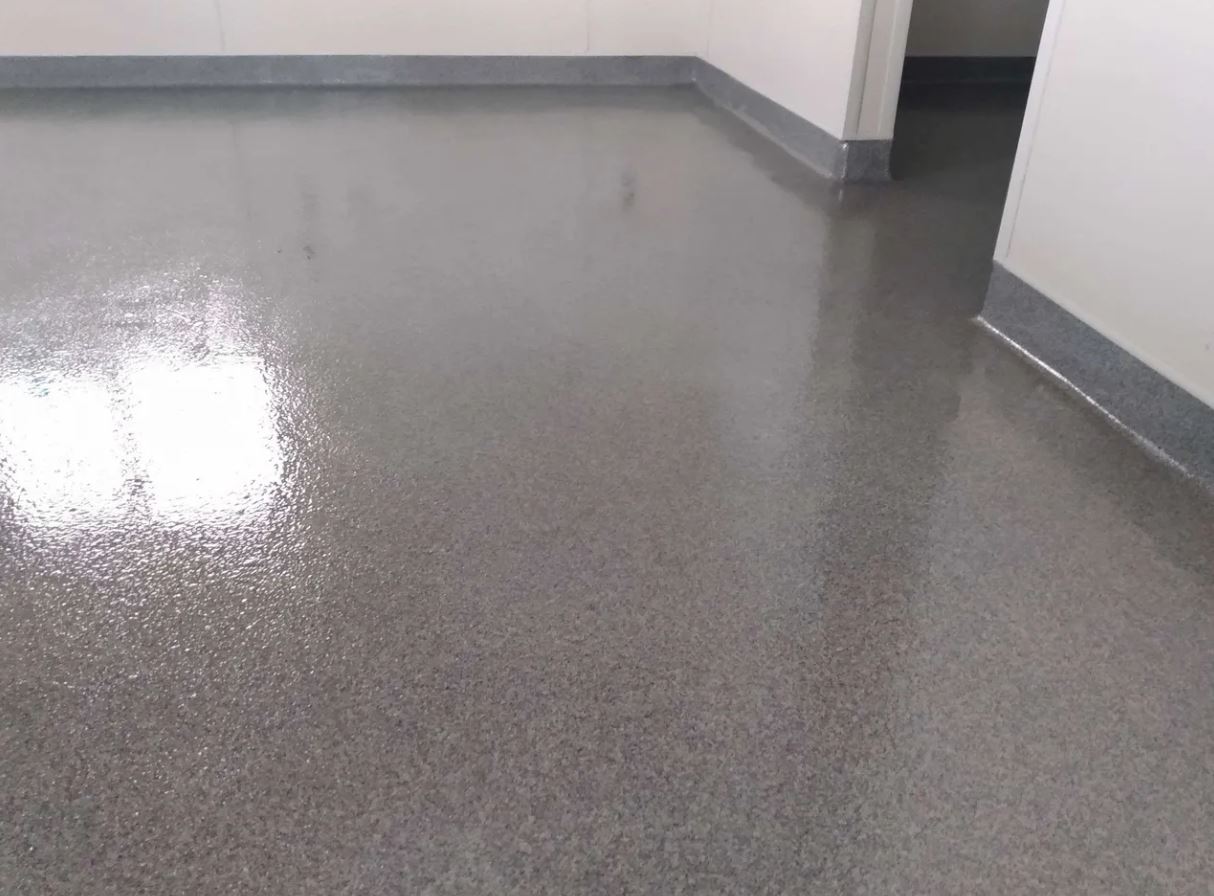
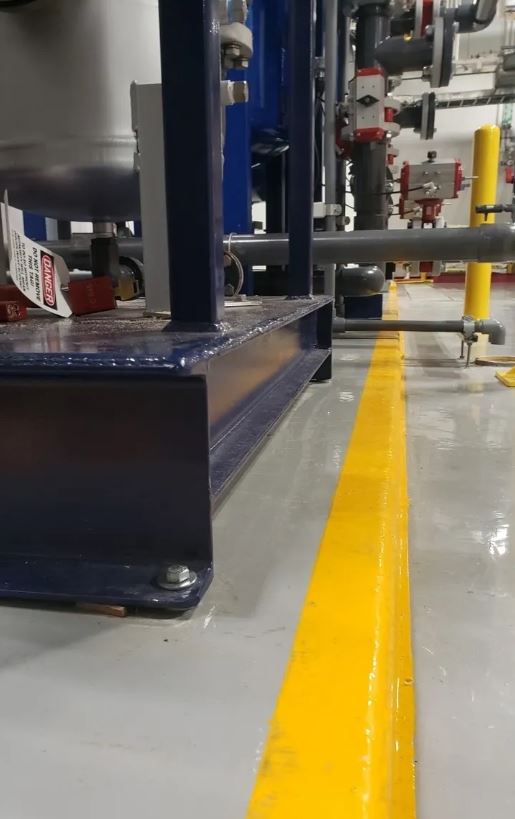
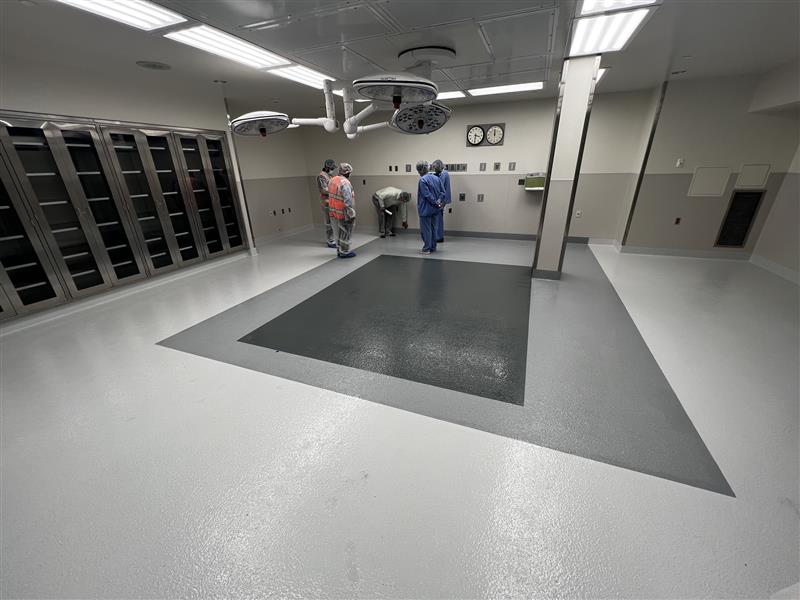
Commercial properties like epoxy because it can take a beating. Warehouses, retail stores, and hospitals use it because it is easy to clean. It holds up under heavy foot traffic and equipment. It also looks good, and you can customize it with different colors and designs.
A great benefit is its long life. A properly installed epoxy floor can last 10 to 20 years, even in a place like Colorado with temperature swings and lots of use. It's an investment that pays off by saving you money on repairs and replacements. So, if you want to protect your garage floor or need a tough, good-looking surface for your business, consider epoxy.
Let’s discuss preparing your floor for epoxy. Many people err here, but it's the most important step. You can't apply epoxy to just any surface and expect it to last.
First, examine the concrete. Look for cracks, oil stains, and old coatings. These can keep the epoxy from sticking. If there's oil, use a degreaser and scrub well.
Next, grind the surface. This isn't optional. You must create a profile, which means making the surface rough. This gives the epoxy something to grip. It's like sanding wood before painting. If you skip this, the epoxy might peel, especially in busy areas.
What about cracks? Don't ignore them. Fill small cracks with epoxy crack filler. For bigger cracks, chip out the bad concrete and patch it with concrete repair mortar. Let it cure before moving on.
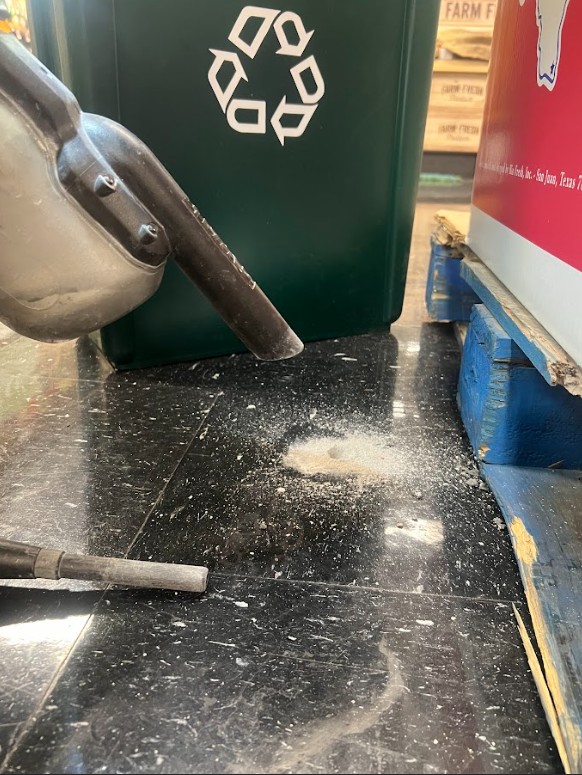
Finally, vacuum everything, then vacuum again. Any dust or debris will ruin the bond. A clean surface is better. A clean surface means your epoxy floor will last longer. It could last 10 to 20 years in a place like Denver if you do it right. Skip prep, and you'll redo it in a year or two. I've seen it.
You need a concrete grinder. For smaller jobs, a handheld grinder with a diamond grinding wheel may work. For larger spaces, rent a walk-behind planetary grinder. These machines remove coatings, level surfaces, and create a profile for epoxy to bond to. Proper surface prep is key to a successful epoxy floor. A vacuum attachment for your grinder is a must to avoid breathing in dust.
Epoxy must be mixed well. Get a good drill with a mixing paddle made for epoxy. Paint stirrers won't work. Also, get graduated buckets to measure the epoxy resin and hardener. Accuracy matters; too much or too little hardener results in a floor that doesn't cure, leading to a sticky mess. Have extra buckets for mixing batches or colors.
Squeegees and rollers apply the epoxy. Use a notched squeegee to spread the epoxy across the floor, and then back-roll it with a spiked roller to remove air bubbles. The size of the squeegee and roller depends on the project size. For smaller areas, a 9-inch roller works. For larger areas, use an 18-inch roller to save time. Have extra roller covers, as they can get clogged.
You'll need other materials besides epoxy. A concrete primer helps adhesion, especially on porous surfaces. Self-leveling compounds fill cracks before applying epoxy. A topcoat sealer protects the epoxy from scratches, stains, and UV damage. The type of epoxy, primer, and sealer depends on the floor's use and needed durability.
Epoxy is a chemical, so safety comes first. Always wear gloves, eye protection, and a respirator when working with epoxy. A Tyvek suit protects your skin from splashes. Make sure the work area has air flow to avoid breathing fumes. Get rid of used epoxy containers by following local rules. Don't skip safety; health risks aren't worth it.
Let’s talk about epoxy. It's more than one thing. There are different epoxy resins, and you must pick the right one for your floor. Then there’s the hardener. It starts the chemical reaction that makes the epoxy solid.
Picking the right hardener is key. It depends on things like temperature and how fast you need the floor to dry. Now, mixing is very important. If you get the ratios wrong, you're asking for trouble. Too much hardener, and it might cure too fast and crack. Not enough, and it'll stay sticky.
One of the biggest issues is improper curing. If the temperature is off or the mix is bad, the epoxy won't harden. Then you're stuck with a soft, gummy mess. Another common issue is air bubbles getting trapped in the epoxy as you're applying it. These bubbles weaken the floor and make it look bad. Using a good squeegee and roller can help prevent that. Sometimes a special venting roller can also help. You have to work carefully. If you skip steps or rush, you'll probably regret it.
Let's talk about primer. Don't skip this step when you install epoxy flooring. The primer is the connection between the concrete and the epoxy. Without a good connection, the whole thing fails.
The right primer does a few things. First, it improves adhesion. Concrete is porous. Primer soaks into those pores and gives the epoxy something to grab. Second, many primers block moisture. This is important, especially where temperature changes and moisture rises through the slab.
Choosing the right primer matters. It's not a one-size-fits-all choice. Consider the type of concrete and the kind of epoxy you're using. Some primers work better for older, porous concrete. Others work for smoother, newer surfaces. Read the epoxy maker's advice. They often suggest a specific primer.
What if you skip the primer? At best, your epoxy won't last. At worst, it will peel. You'll regret trying to save money if you skip this step and have to redo the floor. The risk isn't worth it.
You prepped the floor, right? Now comes the fun part: applying the epoxy. First, pour it. Don't dump the whole bucket in one spot! Spread it out in ribbons across the floor.
Next, grab your squeegee or trowel. This is how you move the epoxy around and get the self-leveling action working. Aim for a consistent thickness. Watch for puddles or thin spots. Even it out.
Then comes back-rolling. This is super important! Use a spiked roller to get any trapped air bubbles out. Skip this, and you'll end up with bubbles in your cured floor. Back-rolling also helps even out the epoxy and ensures a uniform look.
What about those decorative floors? If you're doing metallic epoxy, the way you move the epoxy around creates the design. For flakes, broadcast them onto the wet epoxy. Don't be shy, but don't overdo it.
Spotting imperfections? It happens. Small bubbles can sometimes be popped with a heat gun *carefully*. Larger issues might need a bit more epoxy and some feathering in. The key is to catch these things while the epoxy is still wet. Once it starts to cure, you're stuck with it.
After you apply the epoxy, the curing process is where the magic happens. The epoxy needs time to harden and reach its full strength. It is like waiting for concrete to set. You can't rush it.
Temperature and humidity matter here. Aim for temperatures between 60°F and 80°F (around 15°C to 27°C) and low humidity. If it's too cold, the epoxy might not cure right, and you could get a soft or sticky finish. If it is too humid, clouding or other flaws could appear.
Drying times change based on the epoxy product. Always check the instructions. You can expect it to be dry to the touch in 12 to 24 hours. Full curing can take 3 to 7 days.
Protect the floor during this time. Keep foot traffic to a minimum. Keep heavy objects or equipment off it. Dust or pet hair can settle on the surface and get trapped in the epoxy as it cures, which will ruin the look. Cover it with plastic sheeting to keep it clean. A little patience during curing pays off with a durable, beautiful floor.
After you apply your epoxy, you still have a few steps. Sealers and topcoats matter. They add protection, especially against UV rays that can discolor the epoxy. Plus, they let you choose the look you want, like a glossy shine or a matte finish.
Different sealers exist, and each has perks. A polyurethane topcoat works well for UV resistance and scratch prevention. Or consider an acrylic sealer, which is often more affordable but might not offer the same durability.
Consider the floor's location. Is it in direct sunlight? Use polyurethane. Is it a basement floor that needs moisture protection? Acrylic could work.
If you skip this step, your epoxy floor might fade or get scratched. Applying a sealer is straightforward. Roll it on in thin, even coats after the epoxy cures. Read the manufacturer's instructions. They vary, and you want to do it right.
Let's discuss what can go wrong with epoxy flooring and how to fix it. Trust me, problems can arise.
One common issue is bubbles. These often appear when air becomes trapped in the epoxy during application. To prevent this, prep and seal your concrete well. A primer coat helps a lot. Also, mix your epoxy slowly to keep air out. If bubbles form, a propane torch waved quickly over the surface can pop them. Be careful not to burn the epoxy!
Unevenness is another problem. This often occurs if your concrete isn't level, or if you don't spread the epoxy evenly. Self-leveling epoxy is good, but it's not a cure-all. Use a gauge rake to ensure consistent thickness. If you have uneven spots, you might need to sand them and apply another coat.
Then there's blushing, a cloudy or whitish film that can appear. This is often caused by moisture during curing. Ensure the area is dry and well-ventilated. Sometimes, gently wiping the surface with a solvent the epoxy maker suggests can fix it.
Finally, fish eyes are small craters in the finish. They are often caused by surface contamination, like oil or silicone. Thorough cleaning and degreasing is key before applying epoxy. If you get fish eyes, you’ll likely need to lightly sand the area and apply another thin coat of epoxy. Prevention is easier than fixing this one.
You have epoxy flooring. What's next? It's not hard to keep it looking good, but keep a few things in mind.
First, cleaning often is key. For garages or basements, mix warm water and mild dish soap. Don't use harsh cleaners or scouring pads because they can scratch the surface. For commercial spaces, you might need something stronger. Still, check what the manufacturer suggests to avoid damage.
Spills happen. Clean them quickly. Epoxy resists stains, but oil, grease, or harsh chemicals can cause problems if they sit too long. Wipe them up right away with a clean cloth.
Also, consider protection. In busy areas, use mats or rugs to prevent scratches from dirt. Furniture pads under chair legs are important. While epoxy is tough, it's not indestructible. Don't drop heavy or sharp objects because that can cause chips. If you get a chip, fix it fast with a repair kit to prevent more damage. Small steps can make your floor last longer.
How to Prepare Concrete Surfaces for Epoxy Flooring Installation
Let's discuss safety. Epoxy can affect your health, so take precautions. First, ventilation is key. You need good airflow. Open windows or use fans to keep the fumes moving. Don't skip this step.
Next, protective gear is important. Gloves are a must because epoxy can irritate your skin. Get chemical-resistant gloves. A respirator is also needed, especially if you work in a closed area. Fumes can affect your lungs and cause headaches. A respirator with the right filters helps a lot. Protect your eyes, too. Safety glasses or goggles guard against splashes.
Now, consider handling the epoxy. Read the instructions. Every epoxy differs, and you need to know the details. Mixing ratios and working times matter. Don't guess. If you spill, clean it right away with the correct cleaner. Don't let it sit.
Safety is the most boring part, but it's required. If you mess up the epoxy, you can redo it. If you hurt your health, that's a bigger issue. Take your time, be careful, and protect yourself.
Let's talk about how much epoxy flooring costs. It's not one simple price. Several things affect the final number, and you need to keep them in mind when you budget.
First, there are the materials. Different types of epoxy have different prices. Metallic epoxies, for example, are usually more expensive than solid color options. You also have primers, topcoats, or decorative flakes to consider. Don't skimp on quality. Cheaper materials often cause problems later, like peeling or discoloration.
Labor is another big factor. An experienced installer will charge more, but they'll also do the job right. It's worth paying for expertise. A bad install can be a nightmare to fix. The size of your project also matters. A small garage floor will cost less than a huge commercial warehouse.
So, how do you create a realistic budget? Get quotes from at least three different contractors. Make sure they list the costs of materials and labor separately. Don't automatically choose the cheapest option. Think about their experience, reputation, and the material quality they use. When you get materials yourself, research good suppliers and read reviews. Find a balance between cost and quality to ensure a great floor that lasts.
Finding the right epoxy flooring contractor in Denver ensures a floor that lasts. Don't just pick the first one you see. Ask around for referrals. Talk to friends, neighbors, or other contractors who might have recommendations.
Once you have some names, vet them. Call each contractor and ask pointed questions. For example, ask: How long have you installed epoxy floors? What surface preparation do you do? What epoxy products do you use, and why?
Certifications matter. Look for contractors certified by groups. These certifications mean they have the training to do the job right.
Check references. A good contractor should provide past clients' contact information. Call those clients and ask about their experience. Were they happy with the work? Did the contractor arrive on time and stay within budget? Did the floor hold up?
Get everything in writing. A proposal should outline the work, the materials, the timeline, and the total cost. Negotiate and clarify any points you're unsure about. Find a contractor who’s skilled, trustworthy, and open.
Let’s answer some common questions about epoxy flooring. One big question is, "How long does it last?" If you install it correctly, especially in a place like Colorado with its extreme weather, it can last 10 to 20 years. But that depends on correct installation.
What does "correct installation" mean? Prep work is key. If you apply epoxy to a dirty, cracked surface, the epoxy will fail, no matter how good it is. You must grind the concrete, patch cracks, and ensure the surface is clean and dry. Very clean.
People also worry about moisture. Concrete breathes. If moisture gets trapped under the epoxy, bubbles and peeling will occur. Moisture testing beforehand is key.
What about application? Don't skimp on coats. Thin, even layers are key. Also, let it cure. Don't walk on it the next day, even if it feels dry. Give it the time the maker suggests.
Finally, think about maintenance. Epoxy is tough, but not indestructible. Avoid harsh chemicals and abrasive cleaners. A simple mop with mild soap and water will keep it looking good for years. Messing up any of these steps can shorten the lifespan and create a mess.
What’s the key to epoxy flooring? A job done right results in a surface that can handle almost anything. This ranges from car oil in your garage to retail foot traffic. Remember to do your research first.
Planning involves more than color choice. You must know the demands of your space. Will chemicals be present? What about heavy machinery or constant moisture? These things determine the epoxy you need.
Prep work matters too. Don't apply epoxy to a dirty, cracked floor. Grinding, patching, and cleaning are key. If skipped, bubbles and peeling will occur. The floor will look bad fast, and you waste money.
Application is also important. Mixing ratios, techniques, and curing times must be exact. Mistakes create a weak, uneven finish.
Epoxy flooring is an investment. For a job done right that lasts 10–20 years, especially with Colorado’s weather, call us. We can assess your space, suggest the right epoxy, and ensure correct work. Let's talk!
Prioritize safety by wearing appropriate protective gear, including gloves, respirators, and eye protection. Ensure adequate ventilation in the work area to minimize exposure to fumes. Following safety protocols is crucial to protect yourself and others from the potential hazards associated with epoxy application.
Accurately measure and mix the epoxy components according to the manufacturer's instructions, paying close attention to the pot life. Apply the epoxy evenly using a squeegee or roller, maintaining the recommended thickness. Consistent mixing and proper application techniques are essential for achieving a uniform and durable finish.
Thoroughly prepare the concrete surface by grinding, patching cracks, and ensuring it is clean, dry, and free from contaminants. Proper preparation is crucial for the epoxy to bond correctly and prevent future failures. Ignoring this step can lead to peeling, bubbling, or uneven surfaces, compromising the entire application.